


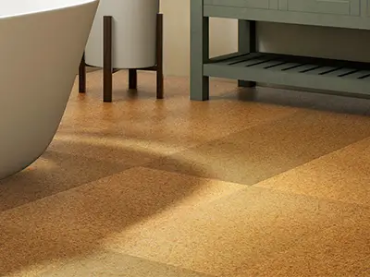

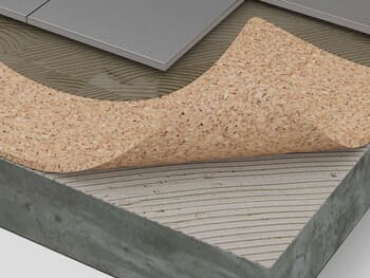


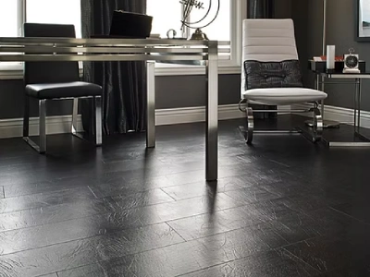


Cork flooring tiles are manufactured in 12-inch squares and are mounted to the sub-surface with flooring adhesive. They can be installed directly onto concrete slabs or over secure wood sub-flooring. Some flooring manufacturers recommend hardboard for glue-down installations, so be sure to follow your manufacturer’s advice.
Regardless of the subsurface, the preparation requirements are the same. The sub-surface must be clean, dry, smooth and level. The following information provides some typical steps involved with sub-surface preparation of concrete slabs and wood sub-flooring.
Preparation for installation on concrete:
- Patch any cracks or holes per your flooring manufacturer’s recommendations
- Check the concrete for moisture content
Note: test methods vary; follow your manufacturer’s recommendation - Cut the bottom of door frames enough to allow tiles to fit underneath
- Make sure the concrete is clean, dry, smooth and level prior to beginning the installationNote: having a smooth sub-surface is very important for glued-down tiles – the shape of imperfections in the concrete or loose debris left behind will be seen and felt in the finished surface
- Apply subfloor primer to the concrete with a roller and allow to dry prior to applying adhesive
Preparation for installation on wood or hardboard:
- Repair any uneven areas
- Check moisture content of the sub-floor according to the manufacturer’s recommendations
- If sub-flooring is over a crawlspace, cover the ground below the subfloor with polyethylene sheeting
Note: most manufacturers recommend 6-mil sheets overlapped and taped together - Cut the bottom of door frames enough to allow tiles to fit underneath
- As with concrete, make sure the subfloor is level, clean and most importantly, smooth to prevent any irregular shape transfer through the cork
- Apply subfloor primer with a roller and allow to dry prior to applying adhesive
Acclimation:
- Most manufacturers recommend acclimating cork tiles for 2-3 days, at normal-living temperature and humidity levels, and in the room where the tiles will be installed
Note: refer to your flooring manufacturer’s documentation for specific details - Apply the recommended adhesive to the subfloor with a roller, working in small areas at a time, and allow it to dry
Installation of tiles:
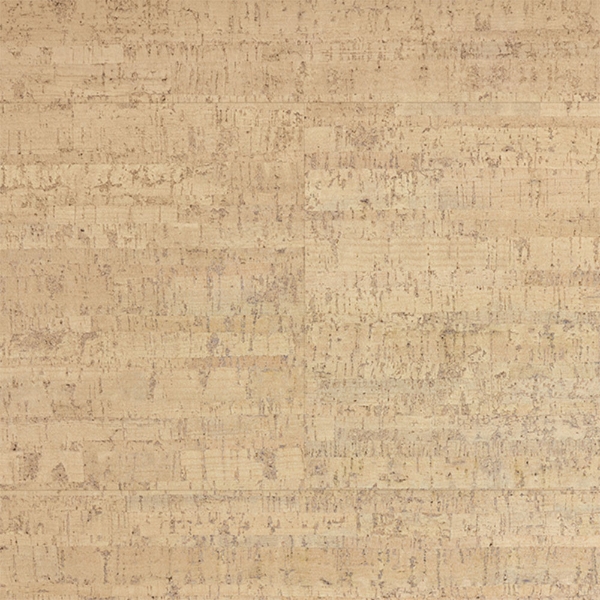
- Since cork has natural variations in shade and pattern, sort through the boxes and select tiles that will provide the best overall look
- Using spacers, leave an expansion space around the border of the room and around any fixed objects, like pipes and kitchen islands
Note: refer to your manufacturer’s instructions since expansion space recommendations can vary from 1/4 in. to 1/2 in. - Apply pressure equally across the surface of each tile as it is laid in place
- After all tiles are in place, and prior to applying sealer, roll the entire floor according to the manufacturer’s recommendations
- Allow the adhesive to dry completely before walking on the floor
Note: the typical recommendation is 24 hours, but this could vary depending on climatic conditions - Clean the finished floor with a polyurethane cleaner then seal it with a urethane sealer, as recommended by the manufacturer
Always follow your flooring manufacturer’s recommendations and the end result will be a beautiful new cork floor that you’ll be proud to show off for years to come.